Mastering Chocolate Tempering
- Posted on
- By The Pastry Depot
- 0
As Valentine's Day approaches, elevate your homemade gifts with perfectly tempered chocolate — ideal for luxurious dipped strawberries, elegant truffles, or molded hearts that impress with professional finesse.
Achieving Professional Results
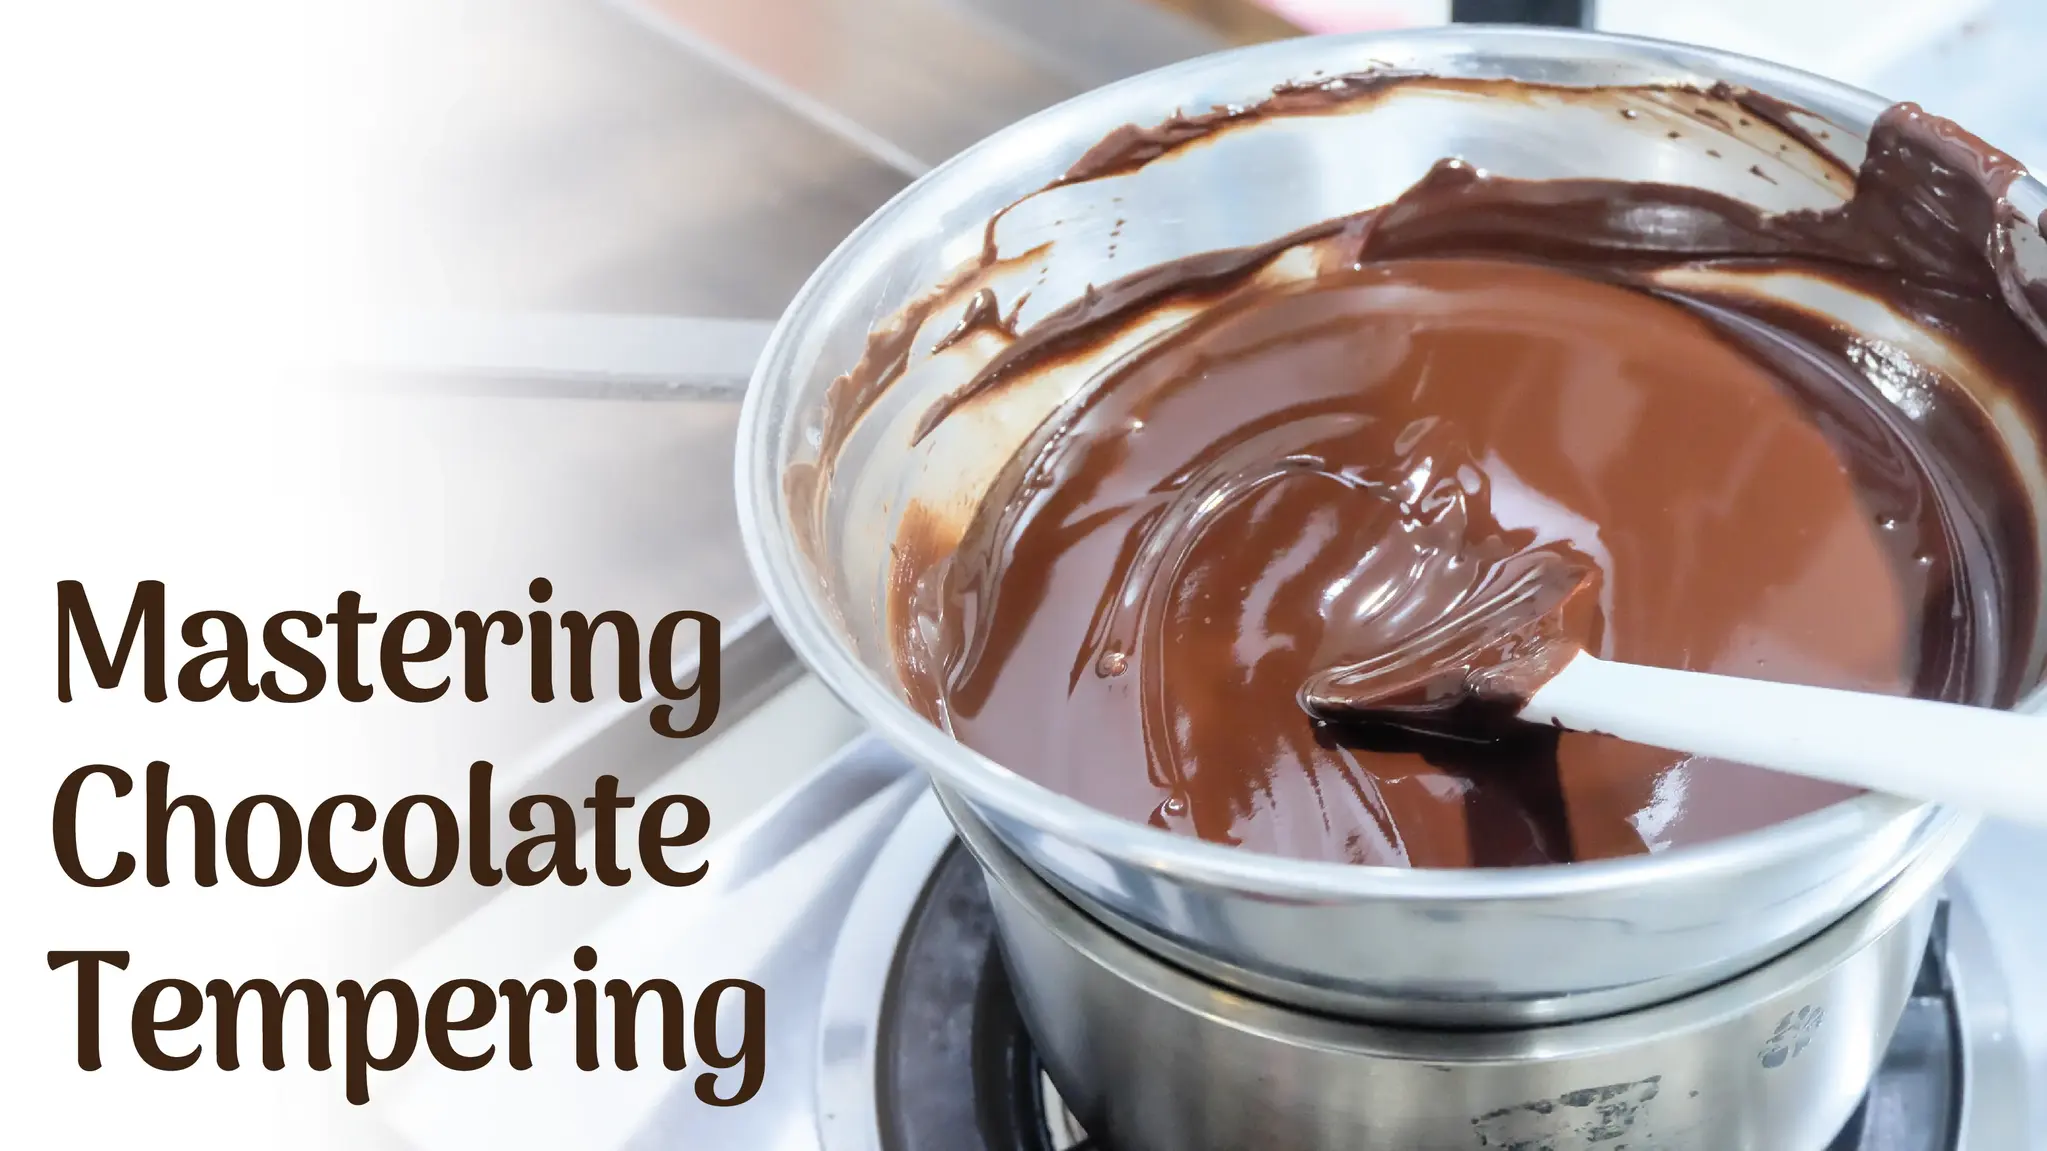
Tempering is the controlled process of heating and cooling chocolate to stabilize the cocoa butter crystals within it. This technique is essential for achieving a stable crystalline structure. When chocolate is melted, its crystalline structure breaks down. If allowed to cool naturally without intervention, the chocolate may solidify with a dull appearance, streaky surface, or soft texture—outcomes unsuitable for professional-quality confections.
Tempering is a precise technique involving the controlled heating and cooling of chocolate to stabilize its cocoa butter crystals. This process is fundamental for professional chocolatiers, ensuring a stable crystalline structure that elevates the final product.
When couverture chocolate melts, its internal crystal structure disintegrates. Without proper tempering, it cools into an unstable form, resulting in a dull, matte appearance, streaky surfaces, soft texture, or blooming – those unappealing grayish-white streaks caused by fat or sugar migration.
Proper tempering encourages the cocoa butter to reform into the most stable crystal polymorph, known as Form V. This results in chocolate with the desirable characteristics:
• A glossy, shiny finish
• A crisp snap when broken
• Resistance to bloom (unsightly grayish streaks or spots caused by fat migration)
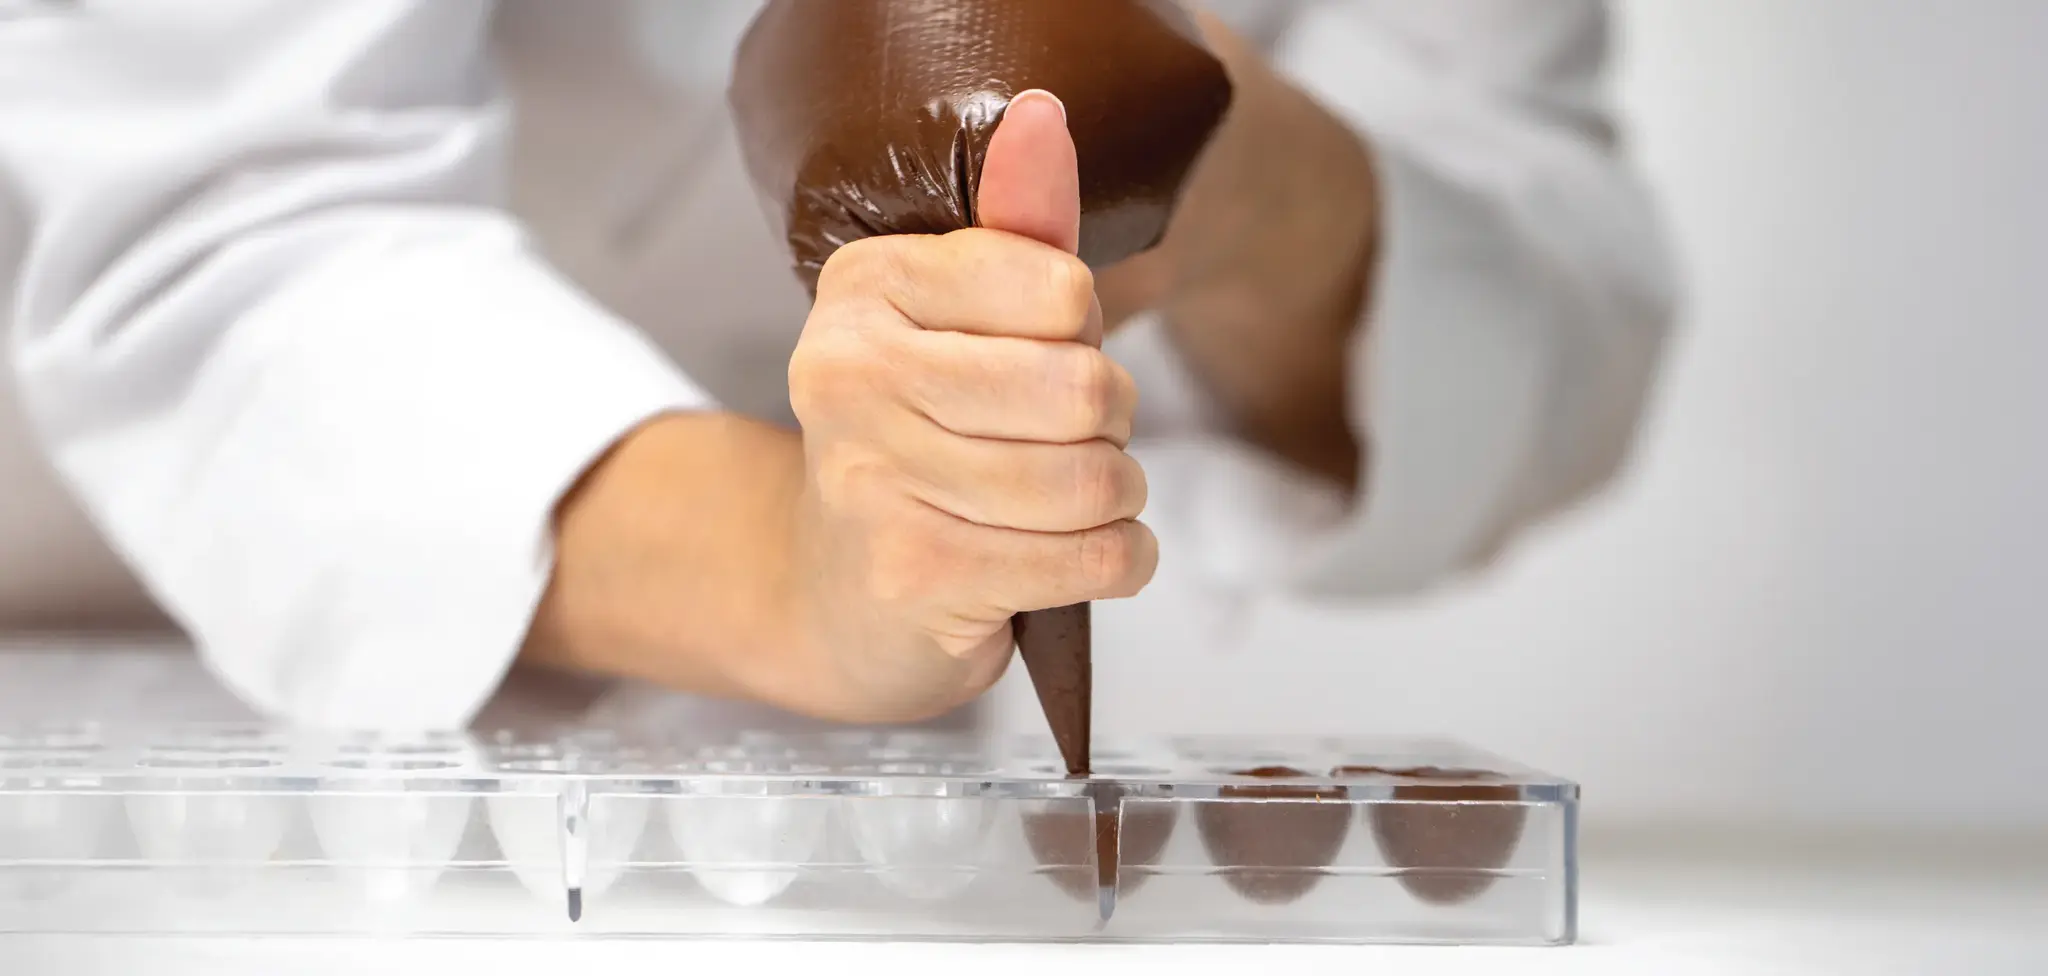
• A smooth, even coating ideal for enrobing fruits, truffles, and candies
Methods for Tempering Chocolate
Several techniques exist for tempering chocolate, with the following being the most widely used:
• Seeding: Recommended for beginners and home chocolatiers
• Tabling: Preferred by experienced professionals
• Microwave: Convenient for home use
• Mycryo: Increases consistency, saves time and labor
Seeding Method
1. Melt two-thirds of the total chocolate (preferably couverture) to the appropriate melting temperature (approximately 113–122F / 45–50C for dark chocolate).
2. Gradually add the remaining one-third of finely chopped chocolate (the "seed") while stirring continuously to lower the temperature.
3. Cool to the working temperature, typically 88–90F (31–32C) for dark chocolate, at which point it is ready for use.
Note: Each chocolate brand has a recommended tempering guideline. Please always read the bag for exact tempering guidelines.
Tabling Method
1. Melt the entire quantity of chocolate to suggested temperature guide.
2. Pour approximately two-thirds onto a cool marble surface.
3. Agitate and spread the chocolate with spatulas until it begins to thicken. Check temperature with a thermometer.
4. Return it to the bowl containing the remaining melted chocolate, stirring to achieve the optimal working temperature.
Microwave Tempering Method
The microwave offers a straightforward alternative for tempering smaller batches of chocolate, particularly when using the seeding technique. This method is ideal for beginners, requiring minimal equipment while delivering professional results.
Key Considerations:
• Use high-quality couverture chocolate for optimal fluidity and shine.
• Opt for a microwave-safe plastic or silicone bowl, as glass or ceramic retains heat excessively, potentially disrupting the temper.
• Set your microwave to 50% power (medium) to prevent overheating and scorching.
• A reliable digital thermometer is essential for precision.
Step-by-Step Instructions:
1. Set your microwave power to 500–700 watts (medium power). Higher settings can scorch the chocolate and ruin the temper.
2. Use the right bowl. Choose a microwave-safe bowl that doesn’t retain heat. Avoid glass, since it holds heat and can push the chocolate out of temper even after it’s out of the microwave.
3. Heat in short intervals. Microwave the chocolate in 30-second bursts, stirring and checking the temperature each time. Stir between every interval - even if it doesn’t look melted yet. Chocolate can hold its shape while melting, and hot spots can burn it.
4. Stop early and finish by stirring. Remove the chocolate when it reaches about 90F and you still see a few unmelted pieces. Stir until the remaining bits fully melt, then recheck the temperature before using. Work within the proper range.
5. Depending on the brand, your chocolate’s working temperature is typically 86–88F. Make sure you read the bag!
Mycryo Cocoa Butter Method
1. Melt your couverture chocolate to 94F.
2. Add Mycryo at 1% of the chocolate’s weight, then stir thoroughly to fully incorporate.
3. Let the chocolate cool to 88–90F, and it’s ready to use as you normally would.
Why it Works:
Mycryo is made of pre-formed cocoa butter beta crystals—the stable crystal structure you’re aiming for when tempering chocolate. By adding it to melted chocolate, you essentially “seed” the batch with the right crystals, helping it temper quickly and consistently while saving time and labor.
Note: The manufacturer has announced that Mycryo is being discontinued, so if it’s part of your workflow, it may be worth stocking up while it’s still available.
Choosing the Right Chocolate
Always opt for couverture chocolate, which contains at least 31–39% cocoa butter (depending on type), allowing fluid melting and superior tempering. At The Pastry Depot, we offer a carefully selected range of professional-grade couverture chocolates favored by leading pastry chefs from brands like Valrhona, Cacao Barry, Callebaut, Irca, Cacao Noel, and Republica del Cacao. Recommended options include:
• Cacao Barry Extra-Bitter Guayaquil 64%
• Valrhona Opalys 33% White Chocolate
• Cacao Noel Lactée 35% Milk Chocolate
• Cacao Barry Mycryo Cocoa Butter (for alternative tempering)
Essential Tips for Successful Tempering
• Employ a precise thermometer — temperature control is critical.
• Prevent any contact with moisture, as water can cause the chocolate to seize.
• Stir consistently to promote uniform crystal formation.
• Maintain a cool, dry working environment to avoid complications from heat or humidity.
• Precision is paramount: Use a digital thermometer, avoid all moisture (which causes seizing), stir constantly for even crystallization, and work in a cool (68–70F), dry space.
Is Tempering Always Necessary?
Tempering is not required for applications where chocolate is incorporated into baked goods, such as brownies, mousse, ganache, or cakes, where it is simply melted and mixed. However, it is indispensable for techniques involving dipping fruits, molding bars, creating garnishes, or enrobing truffles, as it ensures superior appearance, texture, and extended shelf life.
With practice, tempering becomes an intuitive and rewarding process. Mastering tempering transforms ordinary chocolate work into extraordinary artistry. With quality couverture, accurate tools, and practice, you'll consistently produce glossy, snappy confections worthy of any patisserie display.
Visit The Pastry Depot online or in-store today for professional-grade chocolates and tools to perfect your tempering technique!
Comments
Be the first to comment...